This Bible study class will appear to be the place where children will enter and exit the roller coaster. It could be great fun to make children wait in cue (switchback line) before entering the classroom or just inside the classroom. Simply use microphone stands with wide ribbon taped to the pole to create the line markers. If that is not available use blue painter’s tape in the floor and instruct the kids to stay in line. Hang signs that say, “Wait is only 45 minutes from this point” and “Line jumping is not permitted.” If the line is outside the door, only allow a few at a time to enter, close the door and yell and cheer together to build anticipation before the next group is allow inside. Decorations add excitement to the classroom but how children enter and participate will build an energy and momentum for a great experience. Teachers can try to dress alike with matching vests and hats.
Roller Coaster– This is made from boxes and children’s chairs. Line up four sets of chairs in pairs (side by side) with enough space for a child’s knees between rows. Each row will need to have a panel of cardboard the width of the seat and the height of the chair you have chosen. It is easier to have a flap of cardboard folded under the chair with the chair leg sitting on it. Secure the cardboard to the side of the chair with tape. *Note- Choose a tape that will not damage the chair of leave a sticky mess to be cleaned off when VBS is finished. Cut enough panels for both side of the roller coaster cars (rows of cars). The roller coaster will also need a front car hood and rear car bumper. The rear car bumper is easy. Simply use a box the same width of the last row of chairs to sit on the ground. The  Bumper box should not be higher than the back of the chair. Add reflectors or lights as desired. The hood of the car can be a regular square box the width of the chairs and tall enough for a child’s knees to fit inside. If you desire a more modern or slick look, follow these instructions for creating the hood. First, determine the front of the hood and the back of the hood where the child’s knees go. On the front edge, locate and mark the center of the box. Using a yard stick or straight edge, draw a line from each back corner to the center mark. You should have a triangle. Cut along these two lines only halfway deep so the cardboard will bend over. Try to avoid cutting all the way through the cardboard. Bend the flap over to cause the hood to slope down. Now trace along the bottom of the flap on the cardboard it is resting on. Cut these lines and remove the cardboard material completely. Choose a duct tape color that matches the color you intend to paint the roller coaster. Tape each seam to give it strength. If you have areas that need more cardboard material to fill in, simply tape the cardboard in place. Add any embellishments with cardboard now before you paint. Remove all the pieces from the chairs and paint with water base latex or enamel paint making sure there is solid coverage of paint. Dry completely. Assemble the body pieces on the chairs again. This is a great opportunity to embellish the body of the roller coaster with colorful duct tape stripes that match the seat covers. Add tap lights, reflectors and decals to make it as exciting as you want. Use black dessert size plates from the party store to be wheels. Choose two plates to be in the front car and two plates on each panel and the bumper portion. Glue them in place. A final touch is to cover the top edges of the card board panels and front car where your knees go. Cut some black pipe insulation to fit on the edge. You might prefer to split one side of a swim noodle so the colors will match what you have chosen to use.
Roller coaster seats– These instructions are written to fit an older preschool or younger child size chair but will be applicable for most chairs. The chairs are already in place for adding the cardboard panels and hood of the coaster. Now add the high back to the top  of the chair. Foam cushions for pillows and other crafts are available at craft stores and discount store. Purchase one round foam cushion for each pair of chairs and cut in half with scissors. If circle cushions are not available, buy square cushions divide in half and trim off the two corners to give the same shape. When a half-moon shape is cut for each chair, use tape to secure it to the top of the chair. Next, cover the back of the chair with a pillowcase. *Note- Choose pillowcases in a king size and all the same color. This will allow the roller coaster to have a uniform look, tall seat backs, and the length of the pillowcase will also cover the seat. Other pillowcase sizes are fine if you don’t want the seat covered. On the top of the seat, poke the corners of the pillowcase inside itself so it is a rounded look. You can glue the corners closed if you desire. If your pillowcases are a light color, consider using the Coaster Alley clipart from the CDROM and print it on transfer paper (iron-on) purchased from most office supply stores. This is an easy way to put the name of this roller coaster on the seat back of each coaster seat (pillowcase).
Seat Belts– Every roller coaster must have seat belts for your safety. Use nylon strap material purchased in most discount stores in the automotive section. These have hooks and rackets and that can be easily cut off so the straps can be used. These straps come in multiple sizes, widths and colors. You should not have trouble finding one that fits your needs. The seat belts are made by wrapping it under the chair and back up into the seat. Just a strip of tape under the chair will hold it in place. If children are not sitting in the chairs, you can use empty sardine cans as the buckles by hot gluing the ends of the strap inside the can with the bottom of the can facing up as the front of the buckle. Tape a VBS logo printed from the CDROM, on each buckle. If you desire to add shoulder harness straps, cut a small slit in each side of the pillowcase at the top of the chair. Attach the strap to the chair with tape and thread the strap through the slit and glue to the inside of the sardine can. *Note- If children are sitting in the chairs for photos or such, the sardine can has sharp edges and not safe for kids. Cut a small square of foam board to be the buckles. Wrap each buckle with aluminum foil or aluminum tape. Hot glue a magnet to each square and attach to the straps. When a child sits in the chair, they can put their seatbelt on and it will hold together. If the child gets up before opening the seat belt, it should pull apart without tearing apart your decorations.
Track- This scene can be created in a classroom with one focal wall. Secure the scene setter panels on the focal wall. Place the track along the floor in front of the panels and possibly up the wall to the ceiling like the track comes from that direction. The same can be true with the other end giving the suggestion the track runs through the classroom. Create a roller coaster track using the silver water tank wrap. Roll out the length of track you will lay on the floor and up the wall on each side. Make a rectangle template from poster board. Place this on the silver wrap material and draw around the template with a permanent marker. Continue moving down the track with the template until you have drawn all the rectangles to be cut out. Use a sharp craft knife and cut along the lines to remove the rectangles and reveal your track. Attach black pipe insulation on each side of the track. *Note- It might be easier to add the pipe insulation after it is attached to the walls and set in place.
Deck– Attendees must wait their turn to ride the roller coaster and many times that is on a wooden deck. Make a deck using a tan king size sheet and roughly draw lines with a wide point black or brown permanent marker every two to four inches on the sheet to suggest boards. Go back and draw lines across to suggest the ends of the boards. These lines should be staggered and not straight across (plaid pattern). Seams on wooden floors are always off set from other seams. Draw two circles or dots on both sides of the seams to be nail prints. You may add as much detail as you want. This particular decoration stores flat and can be used in most decorations each year. *Note- Preparing a king size sheet will give you options when setting up the room. If the room does not have enough space you can simply fold it under to make it whatever size you need. You can make it smaller but if you prepare a smaller sheet, you cannot stretch it larger. Add other signs like “You must be this tall to ride”, “Loose objects must be placed in the basket during ride”, “No Cry Babies Allowed”, and “No guts, No GLORY!”

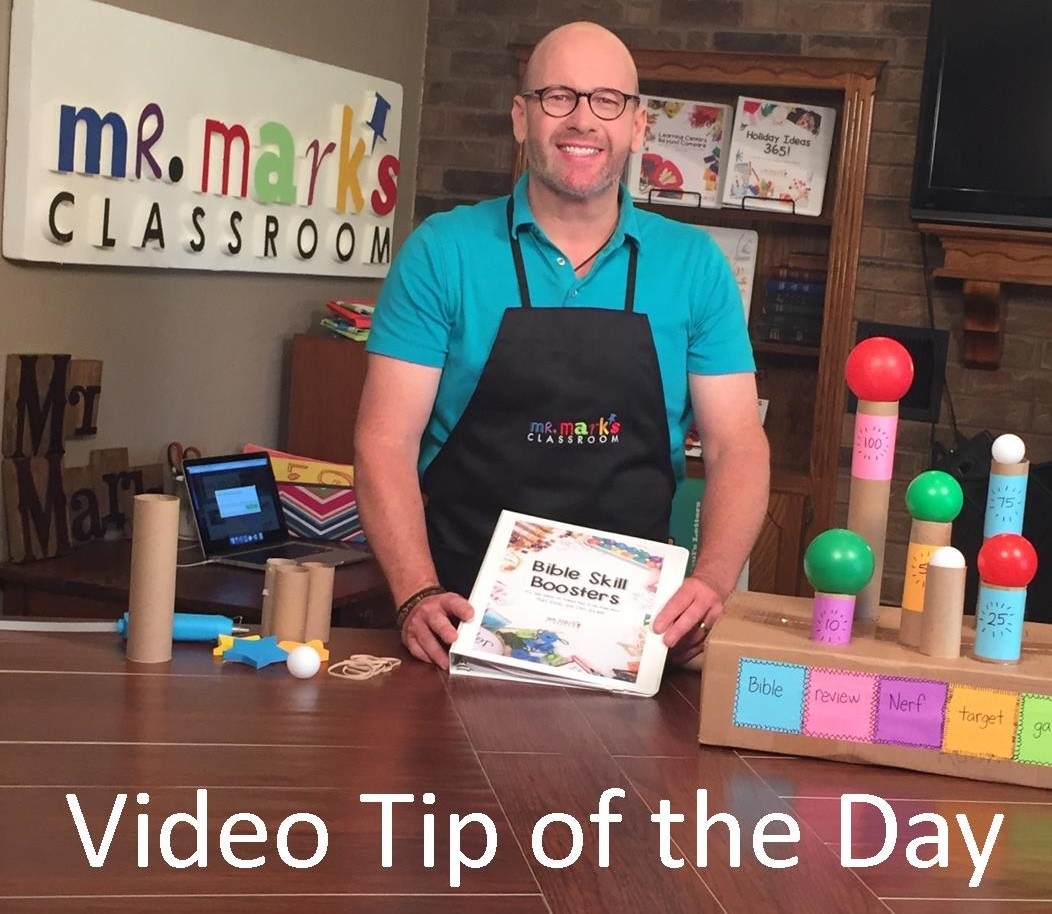
Watch Mark Create Coaster Alley (Video)


